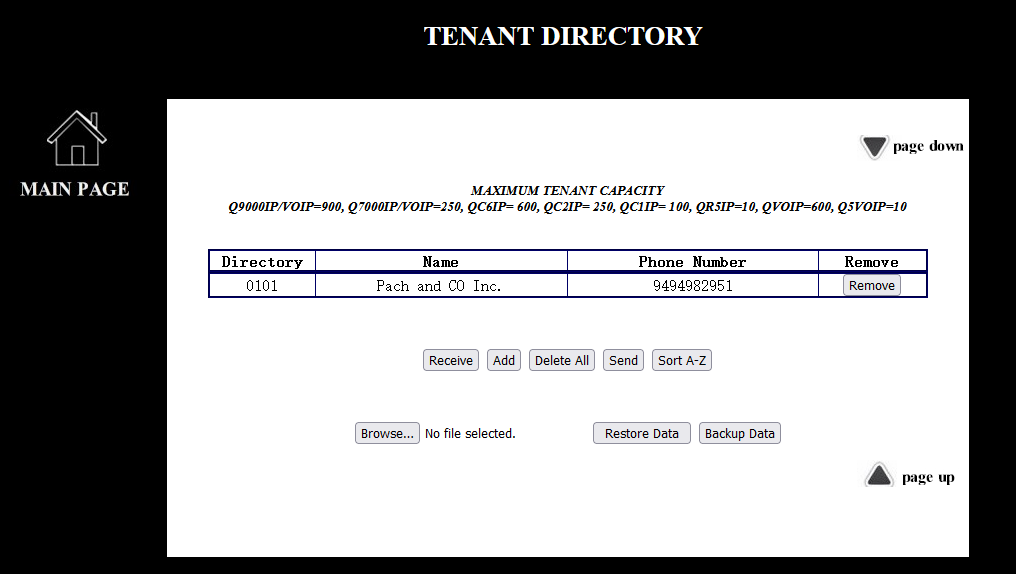
Figure 1
Receiving the tenant directories from Telephone Entry System, use it if the tenant directories are lost.
Add a tenant directory, see Figure 2
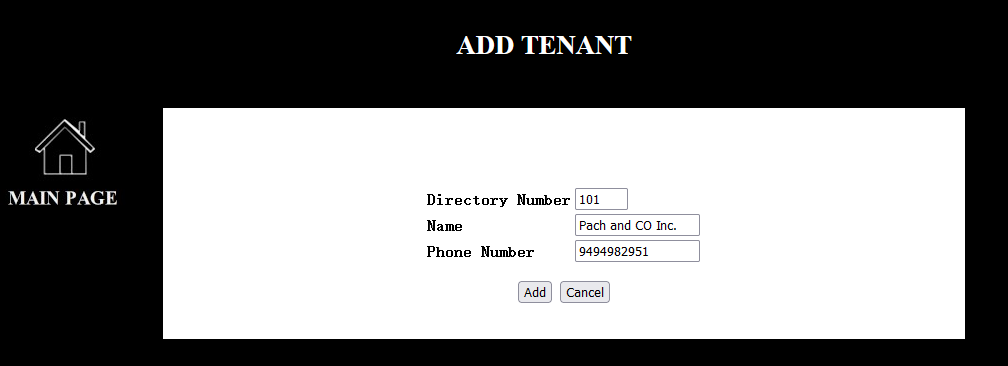
Figure 2
Q9000IP and Q9000VOIP Series, 3-digit directory is a default setting, change the directory digit at the telephone entry system on function code 19
QC, QVOIP, Q7000IP and Q7000VOIP Series 2-digit directory is a default setting
Change the directory digit at the telephone entry system on function code 19
Adding a new tenant directory, see Figure 1
Cancelling a new tenant directory
Removing a tenant directory. Do not remove it if the screen is on sorting A-Z
Deleting all the tenant directories from the QWCM Web-Based module and Telephone Entry System. Back up the tenant directories before deleting all tenant directories.
Restoring the tenant directories from a backup file. Click
Sending the tenant directories database to telephone entry system